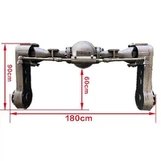
Hey there! As a supplier of Weed killer boom sprayers, I know how crucial it is to keep your equipment in top - notch condition. One of the most important maintenance tasks is thoroughly cleaning the tank of your weed killer boom sprayer. In this blog, I'll walk you through the steps to do just that.
Why Cleaning the Tank is So Important
First off, let's talk about why you need to clean the tank. Using a weed killer boom sprayer often means dealing with some pretty potent chemicals. If you don't clean the tank properly, residues of the previous herbicide can contaminate the next batch of chemicals you use. This can lead to ineffective weed control or even damage to your crops. Also, over time, chemical residues can corrode the tank and other parts of the sprayer, shortening its lifespan.
Pre - Cleaning Preparation
Before you start cleaning, make sure you've got the right safety gear on. You'll need gloves, goggles, and a respirator if the chemicals are particularly toxic. Safety first, folks!
Empty the tank completely. Use up all the remaining herbicide in the tank by spraying it in an appropriate area, like a designated weed - infested field. Once the tank is empty, turn off the sprayer and disconnect it from the power source.
Step 1: Rinse the Tank
The first step in cleaning the tank is a simple rinse. Fill the tank about one - third full with clean water. You can use a garden hose to do this. Then, turn on the sprayer and let the water circulate through the system for about 5 - 10 minutes. This will help to flush out any loose debris and some of the remaining chemical residues.
After the water has circulated, drain the tank completely. Make sure you drain it in a safe area, away from water sources and areas where the runoff could contaminate crops or the environment.
Step 2: Use a Cleaning Solution
Now it's time to use a proper cleaning solution. You can buy a commercial tank cleaner from a farm supply store, or you can make your own. A common homemade solution is a mixture of water and household ammonia. Mix about one cup of ammonia per five gallons of water.
Fill the tank about half - full with the cleaning solution. Turn on the sprayer again and let the solution circulate through the system for at least 15 - 20 minutes. This will help to break down and dissolve any stubborn chemical residues.
While the solution is circulating, you can also use a long - handled brush to scrub the inside of the tank. Pay special attention to the corners and seams where residues tend to build up.
Step 3: Rinse Again
After the cleaning solution has circulated, drain the tank completely. Then, fill the tank with clean water and rinse it thoroughly. Turn on the sprayer and let the water circulate for another 5 - 10 minutes. Repeat this rinsing process at least two or three times to make sure all of the cleaning solution and chemical residues are removed.
Step 4: Clean the Filters and Nozzles
The filters and nozzles of your weed killer boom sprayer can also get clogged with debris and chemical residues. Remove the filters and soak them in a bucket of cleaning solution for about an hour. Then, use a brush to gently scrub the filters to remove any dirt or residue. Rinse the filters thoroughly with clean water and let them dry completely before reinstalling them.
For the nozzles, you can use a small wire brush or a toothpick to clean out any clogs. Soak the nozzles in the cleaning solution for a few minutes, then rinse them with clean water. Make sure the nozzles are completely dry before putting them back on the sprayer.
Step 5: Inspect the Tank
Once you've finished cleaning and rinsing the tank, take a good look inside. Check for any signs of damage, such as cracks or corrosion. If you notice any damage, it's important to get it fixed as soon as possible to prevent leaks and further damage to the sprayer.
Tips for Regular Maintenance
To make the cleaning process easier and keep your sprayer in good condition, here are some tips for regular maintenance:

-
Flush the system after each use: Even if you're not doing a full - scale cleaning, it's a good idea to flush the tank and the system with clean water after each use. This will help to prevent the build - up of chemical residues.
-
Store the sprayer properly: When you're not using the sprayer, store it in a dry, cool place. This will help to prevent rust and other damage.
-
Follow the manufacturer's instructions: Different weed killer boom sprayers may have different cleaning and maintenance requirements. Make sure you read and follow the manufacturer's instructions carefully.
Different Types of Weed Killer Boom Sprayers
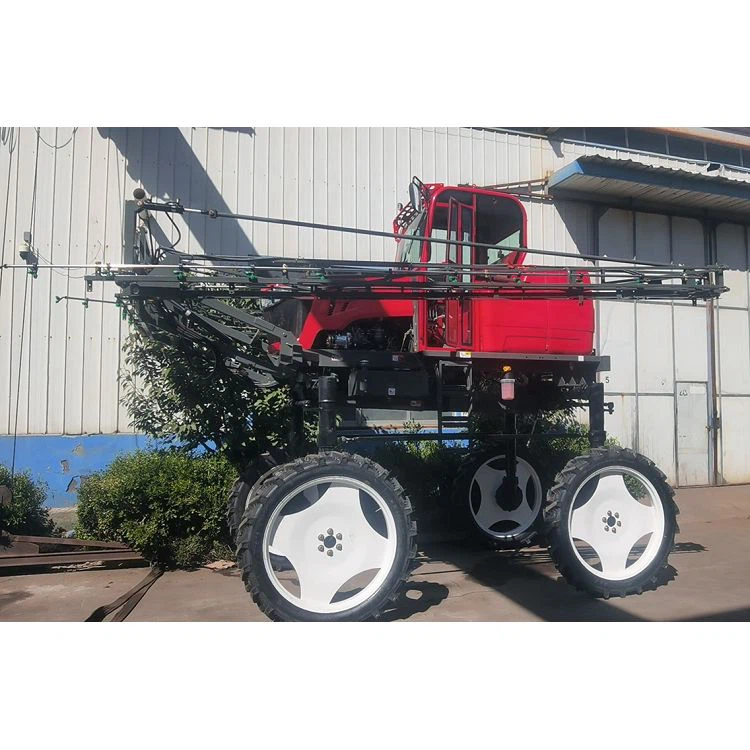
As a supplier, I offer a variety of weed killer boom sprayers, including High Clearance Boom Sprayers, Hydraulic Boom Sprayers, and Boom Weed Sprayers. Each type has its own unique features and benefits, but the basic cleaning principles are the same.
Contact Us for Your Sprayer Needs
If you're in the market for a new weed killer boom sprayer or need more information about cleaning and maintaining your existing equipment, don't hesitate to reach out. We're here to help you make the best choice for your farming needs. Whether you're a small - scale farmer or a large - scale agricultural operation, we've got the right sprayer for you. Contact us today to start the conversation about your purchase.
References
- "Agricultural Chemical Equipment Maintenance Guide", USDA Extension Service
- Manufacturer's manuals for various weed killer boom sprayers