Hey everyone! As a boom sprayer supplier, I often get asked about how to install a boom sprayer. It might seem like a daunting task at first, but with the right steps and a bit of patience, you can have your sprayer up and running in no time. In this blog post, I'll walk you through the process, step by step.
Step 1: Gather Your Tools and Materials
Before you start the installation, it's crucial to gather all the necessary tools and materials. You'll typically need a socket set, wrenches, a drill, screws, and of course, your boom sprayer. Make sure you have the user manual handy as well, because it'll be your best friend throughout the installation process.
Step 2: Choose the Right Location
The location where you install your boom sprayer is super important. You want to pick a flat, stable surface that's easily accessible. If you're installing it on a tractor or a vehicle, ensure that it has enough power to support the sprayer. You also need to make sure there's enough space for the boom to extend fully without any obstructions.
Step 3: Prepare Your Vehicle or Equipment
If you're mounting the boom sprayer on a tractor or a trailer, you need to prepare it first. Clean the mounting area thoroughly to remove any dirt, grease, or debris. This will ensure a secure and stable attachment. Check the mounting points on your vehicle or equipment to make sure they're in good condition and compatible with the sprayer's mounting brackets.
Step 4: Install the Boom Sprayer Frame
Now it's time to start installing the frame of the boom sprayer. Most boom sprayers come with a pre - assembled frame, but you might need to make some adjustments. Align the frame with the mounting points on your vehicle or equipment and use the appropriate screws and bolts to secure it. Make sure the frame is level and tightly fastened. You can use a spirit level to check the alignment.
Step 5: Attach the Boom Arms
The boom arms are one of the most important parts of the sprayer. Carefully lift and attach the boom arms to the frame. There are usually pins or bolts that you'll need to use for this. Make sure to follow the instructions in the user manual to ensure proper attachment. Once the boom arms are attached, check that they can move freely and are not restricted in any way.
Step 6: Connect the Hoses and Pumps
Next, you'll need to connect the hoses and pumps. The hoses are used to transfer the liquid from the tank to the nozzles on the boom arms. Start by attaching the hoses to the pump and then to the tank. Make sure all the connections are tight to prevent any leaks. You might need to use some hose clamps to secure the connections.
The pump is the heart of the sprayer, so it's important to install it correctly. Mount the pump in the designated area on the frame and connect it to the power source. This could be an electric motor or a hydraulic system, depending on the type of sprayer you have.
Step 7: Install the Nozzles
The nozzles are responsible for distributing the liquid in a uniform pattern. Install the nozzles on the boom arms according to the manufacturer's recommendations. The spacing and type of nozzles can vary depending on your specific spraying needs. Make sure the nozzles are clean and free of any blockages before installation.
Step 8: Electrical and Control System Installation
If your boom sprayer has an electrical or control system, you'll need to install it now. This might include wiring, switches, and a control panel. Follow the wiring diagram in the user manual carefully to ensure proper installation. Connect the control system to the power source and test it to make sure all the functions are working correctly.
Step 9: Fill the Tank and Test the Sprayer
Once you've completed all the installation steps, it's time to fill the tank with water (or a suitable test liquid). Turn on the pump and check for any leaks in the hoses, connections, or nozzles. Start the spraying process and adjust the settings as needed to ensure a uniform spray pattern. If you notice any issues, refer back to the user manual for troubleshooting tips.
Different Types of Boom Sprayers and Their Installation Considerations
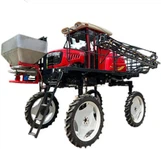
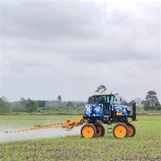
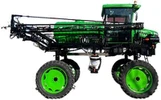
We offer a variety of boom sprayers, each with its own unique installation requirements. For example, the High Ground Clearance Boom Sprayer is designed to operate in fields with tall crops. When installing this type of sprayer, you need to pay extra attention to the height adjustment and stability of the boom.
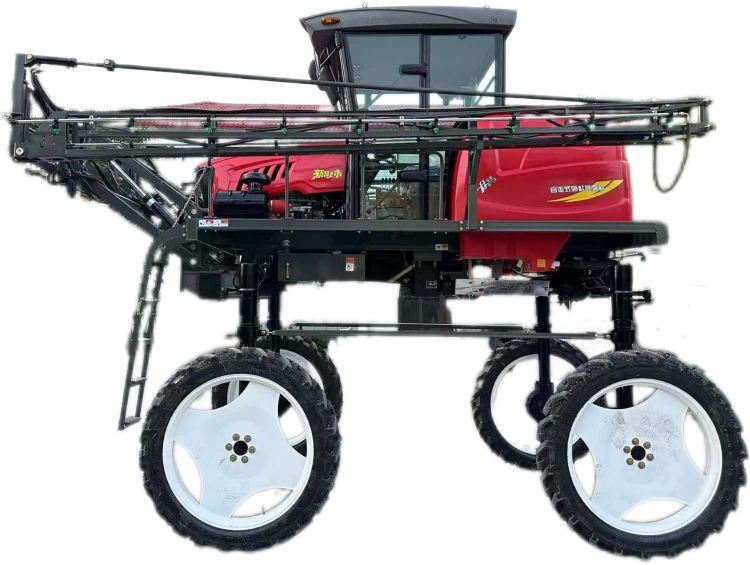

The Self - propelled High Clearance Boom Sprayer is a more independent unit. Installation might involve connecting the sprayer's control system to the self - propulsion system correctly.
And if you're using a Trailer Boom Sprayer, you'll need to make sure the trailer is properly hitched to your towing vehicle and that the sprayer is securely mounted on the trailer.
Conclusion
Installing a boom sprayer is definitely doable if you follow these steps. It might take some time and effort, but once you've got it up and running, you'll have a powerful tool for your spraying needs. Whether you're a farmer, a landscaper, or someone else who needs to use a boom sprayer, our team is here to help.
If you're interested in purchasing a boom sprayer or have any questions about the installation process, feel free to reach out. We're happy to offer advice and support to ensure you get the most out of your boom sprayer.
References
- Agricultural Equipment Installation Guides
- Boom Sprayer User Manuals